Project 4: Face Keypoint Detection with Neural Networks
Fall 2020
Overview
In this project, I explored how to use neural networks to automatically detect facial keypoints. I specifically used a convolutional neural network (CNN), a deep learning model often applied to images. Convolutional neural networks use convolutional layers to extract features from an image, to eventually feed into a fully connected layer. By filtering the inputs at each convolutional layer, a CNN makes image processing much more feasible.
Part 1: Nose Tip Detection
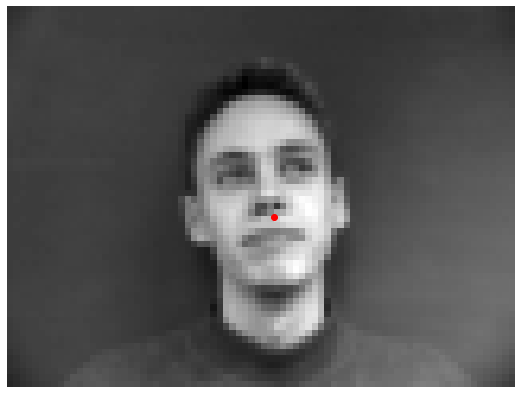
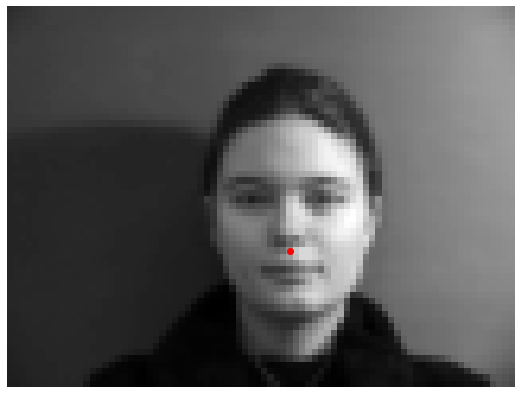
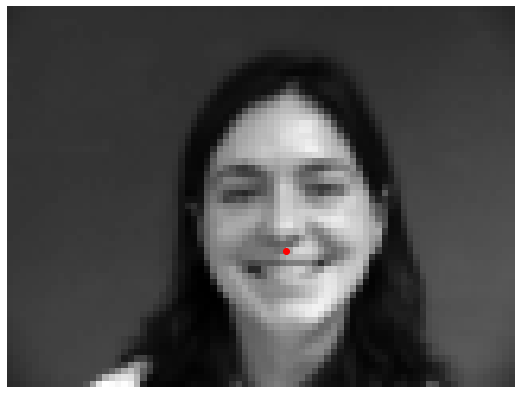
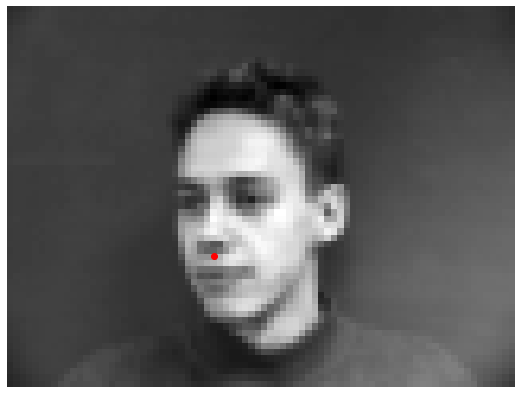
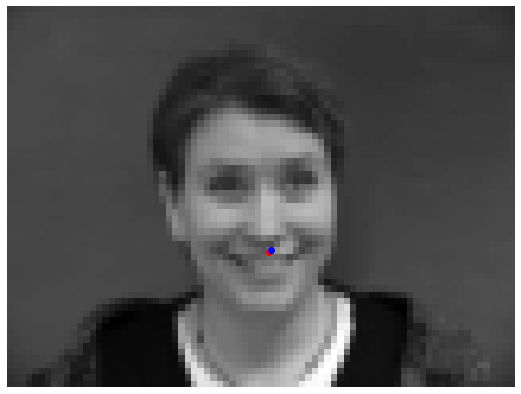
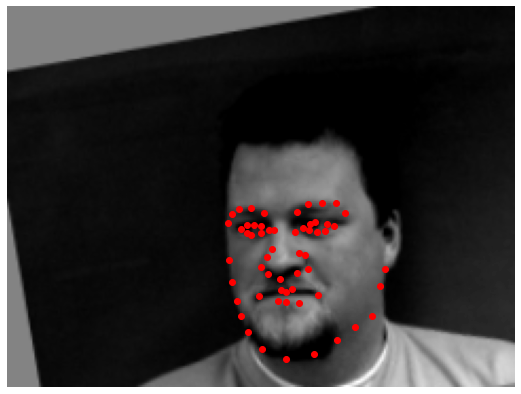
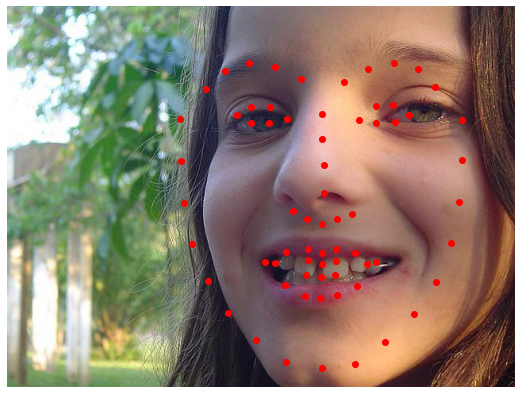
First, I trained a simple CNN to detect a single point. I used images and keypoints from the IMM database, and trained the CNN to detect the nose tip keypoints. I processed the images and keypoints by defining my own dataset, which I fed to a dataloader with batch size 18. The following images are examples of the dataloader's output. The red dot marks the ground-truth keypoints.
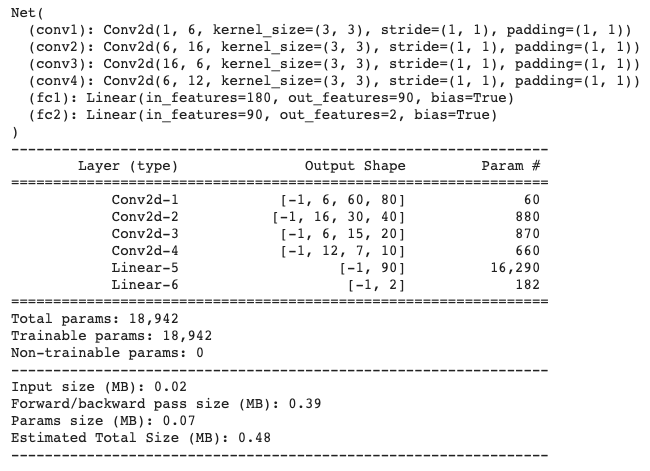
I defined my model with the hyperparameters displayed below. I trained with a learning rate of 1e-3 and used torch.optim.Adam, on images rescaled to 120x180. I ran it for 25 epochs.
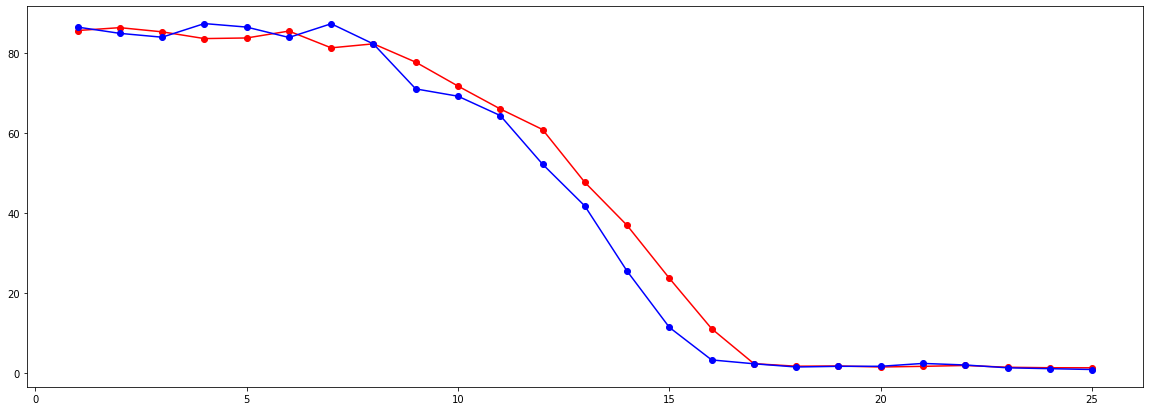
The graph below shows the training loss and validation loss for each epoch. The loss is the difference between the target keypoint and output keypoint that the model uses to learn. The training loss is in red, and the validation loss is in blue.
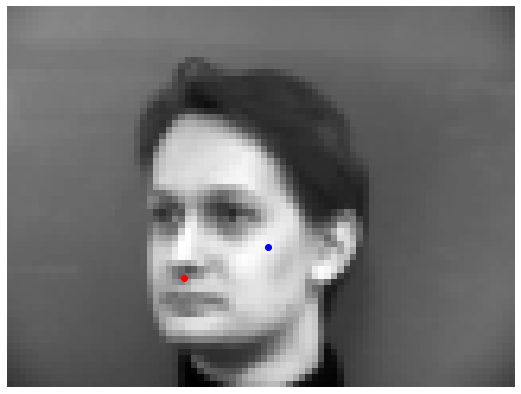
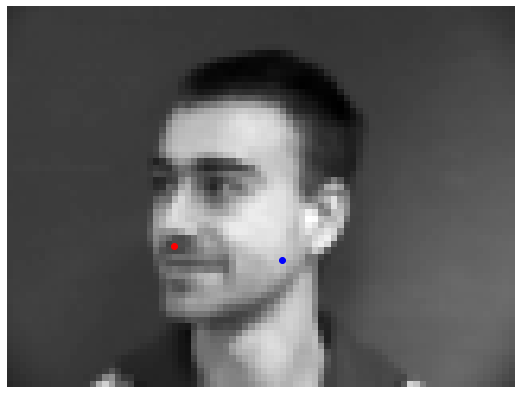
After training the network, I ran the images and keypoints I originally set aside to test it. I got a mix of fairly accurate and inaccurate results, like the sample results shown below. The ground-truth keypoints are in red, while the net's output is in blue. The inaccurate outputs are likely due to the positioning of the faces.

Part 2: Full Facial Keypoints Detection
Instead of training the network on just one keypoint, I tried to automate full facial keypoint detection. Since we have limited data but more desired outputs, I implemented data augmentation to give the net more to train on. My data augmentation included random shift, random rotate, random crop, and color jitter.
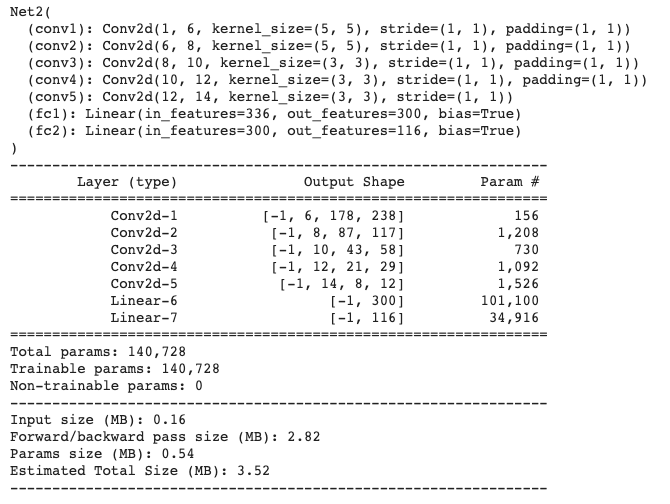
Because I included data augmentation, I wrote a new dataloader that would concatenate multiple datasets to feed my model. My neural network had the following hyperparameters outlined below.
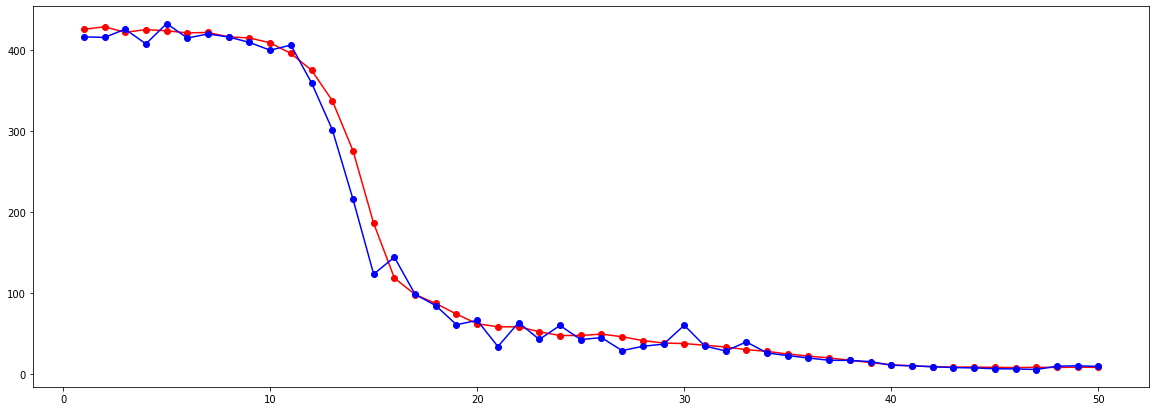
The graph below shows the training loss and validation loss for each epoch. The training loss is in red, and the validation loss is in blue.
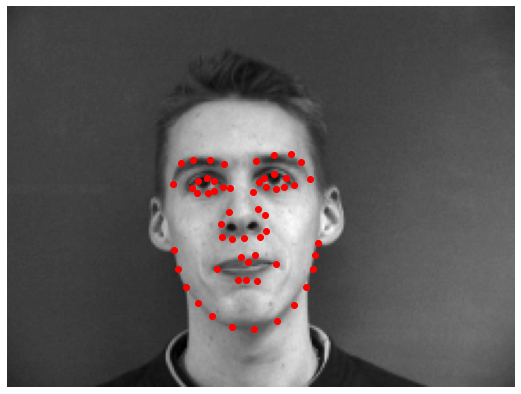
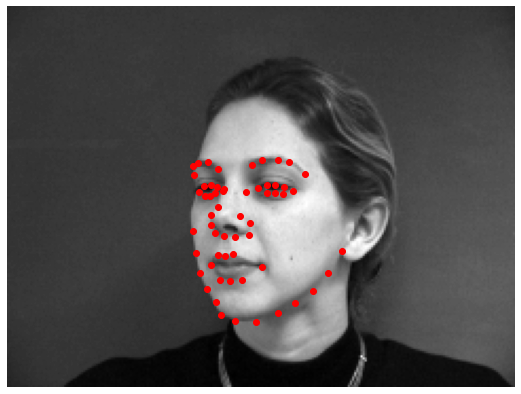
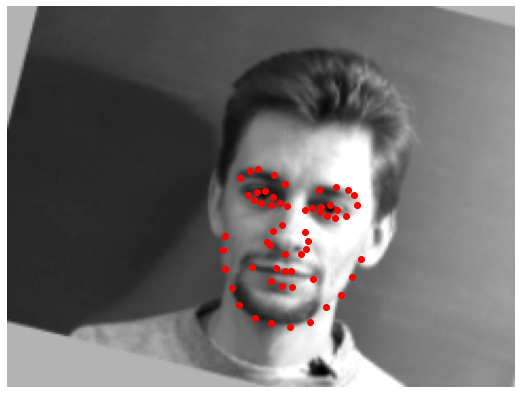
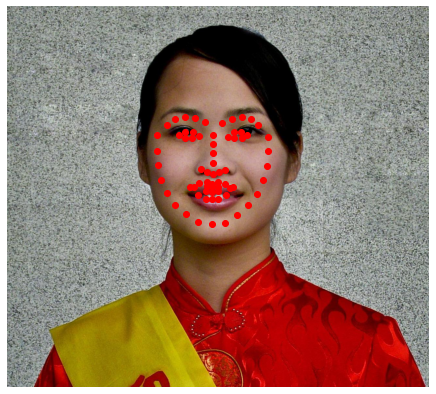
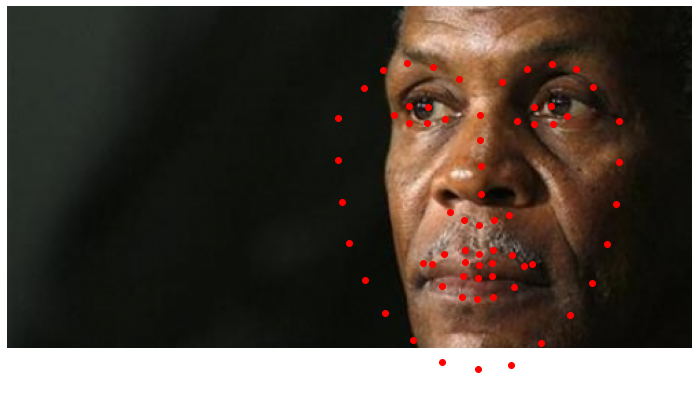
Once again, I trained the network using torch.optim.Adam. I experimented with the architecture and found that smaller and simpler networks yielded better outputs. I also experimented with the learning rate, and found that a slightly lower learning rate improved my model by discouraging overfitting. Loss decreased more slowly due to the lower learning rate, so I ran training for 50 epochs. After training, I ran the test images and keypoints thorugh the net. Some sample results are shown below. The ground-truth keypoints are in red, while the net's output is in blue.
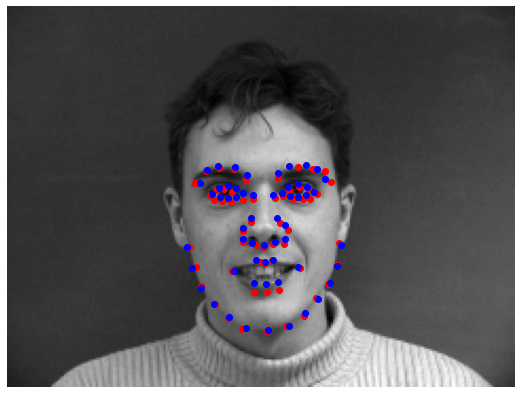
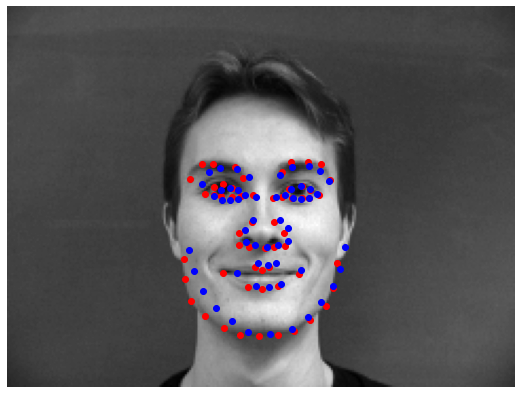

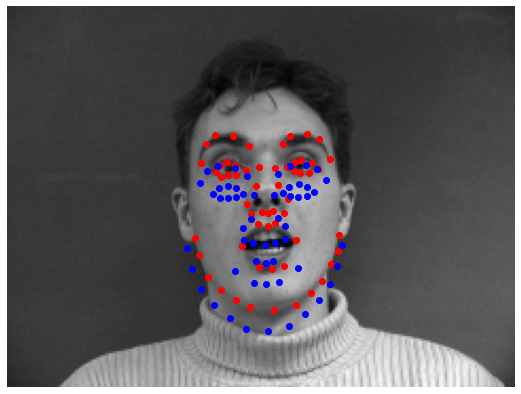
The inaccurate outputs of the left photo is likely because we did not train enough faces similar to this face's position. The output keypoints are arranged as if the face is straight on, instead of slightly turned to the side. For the right photo, the open mouth and turtleneck create misleading edges that the network is likely misinterpreting. The output points run along the neckline instead of the chin, and through the mouth instead of on the nose. Given more time and disk space, I could have improved the accuracy of the model by running it for more epochs and spending more time toying with the architecture, or building off of an established, pre-trained model.
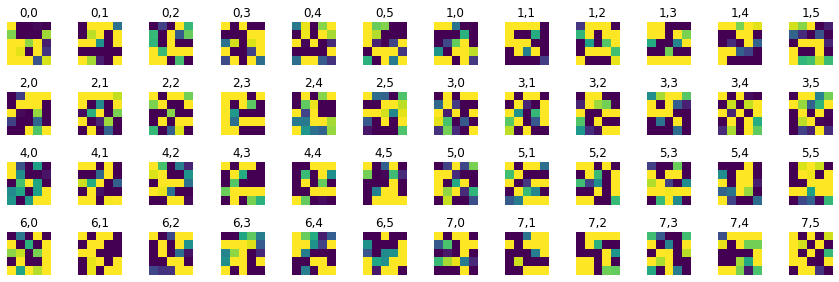
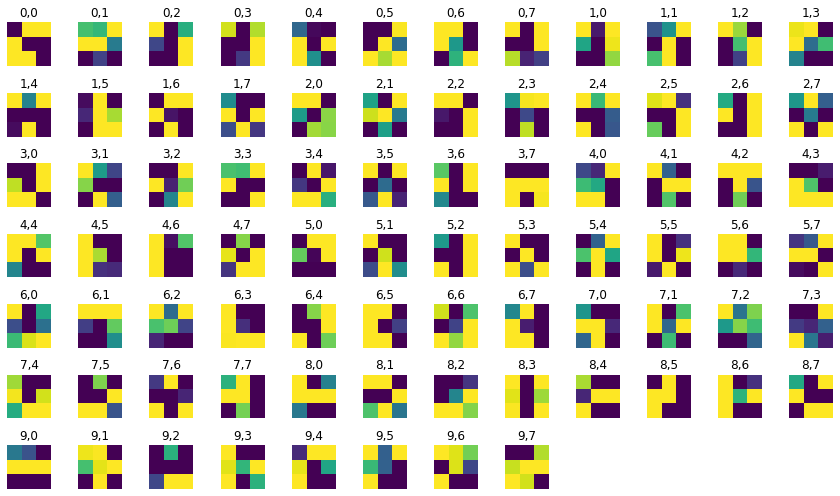
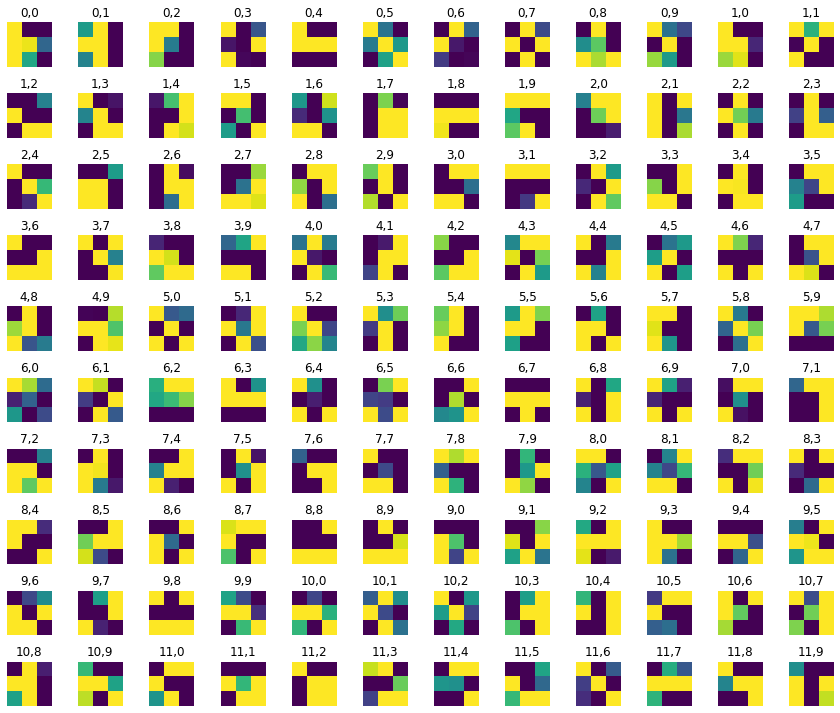
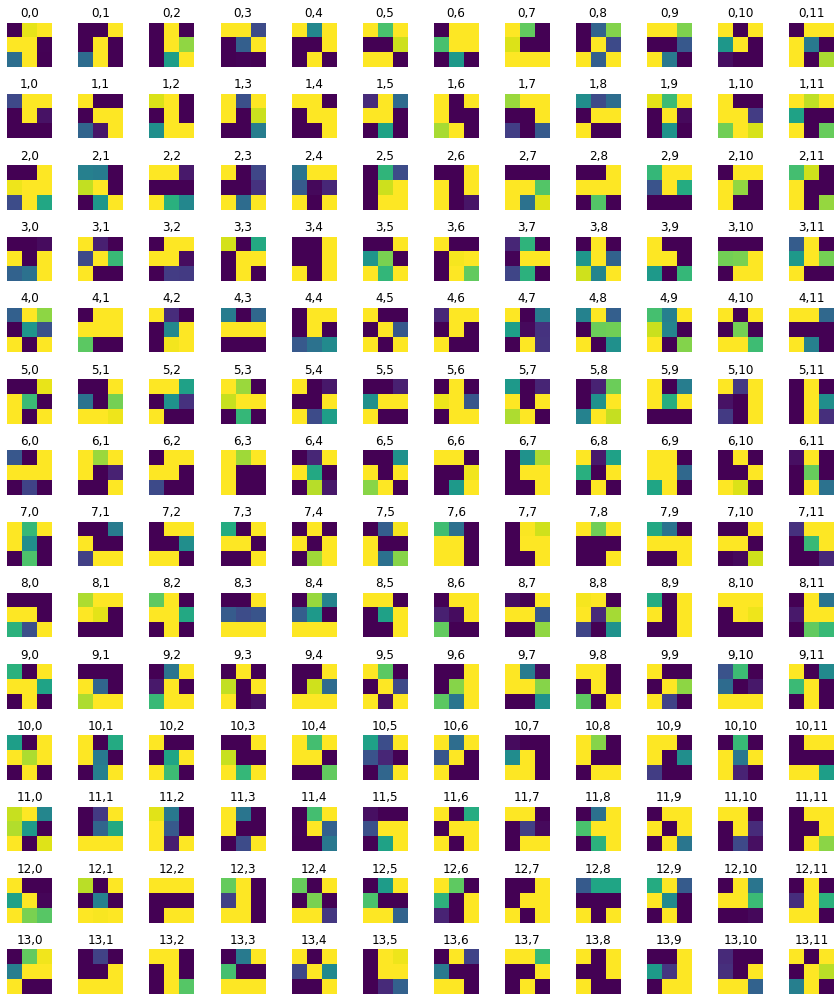
The learned filters for each layer are shown below.

Part 3: Train with Larger Dataset
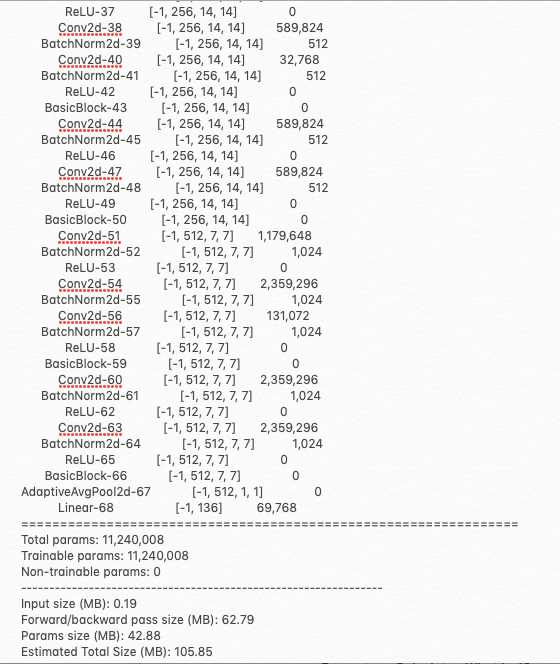
In this part, I learned to train a neural network on an even larger dataset. I used the ibug face in the wild dataset which contains 6666 images. Each image has 68 annnotated facial keypoints. They are all of different sizes, but include the bounding box for the facial keypoints. When loading the data, I isolated the area of the image with the face using the bounding box and reshaped each image to size (224, 224). Then, I modified the resnet18 network so that it would take in the batch size, 64, and have 68*2 outputs. I used a learning rate of 1e-3 and trained for 5 epochs on 5 different augmented datasets and the original dataset. The architecture for the resnet is displayed below.

I ran the test images through the trained net and visualized some images to see how accurate the keypoint detection was. Overall, I could improve training by changing the default parameters on the network, or by adding more data augmentation through blurring, noise, shearing, etc. However, here are three images and keypoints output from the network that I thought were fairly accurate.
The graph below shows the training loss and validation loss for each epoch. The training loss is in red, and the validation loss is in blue.